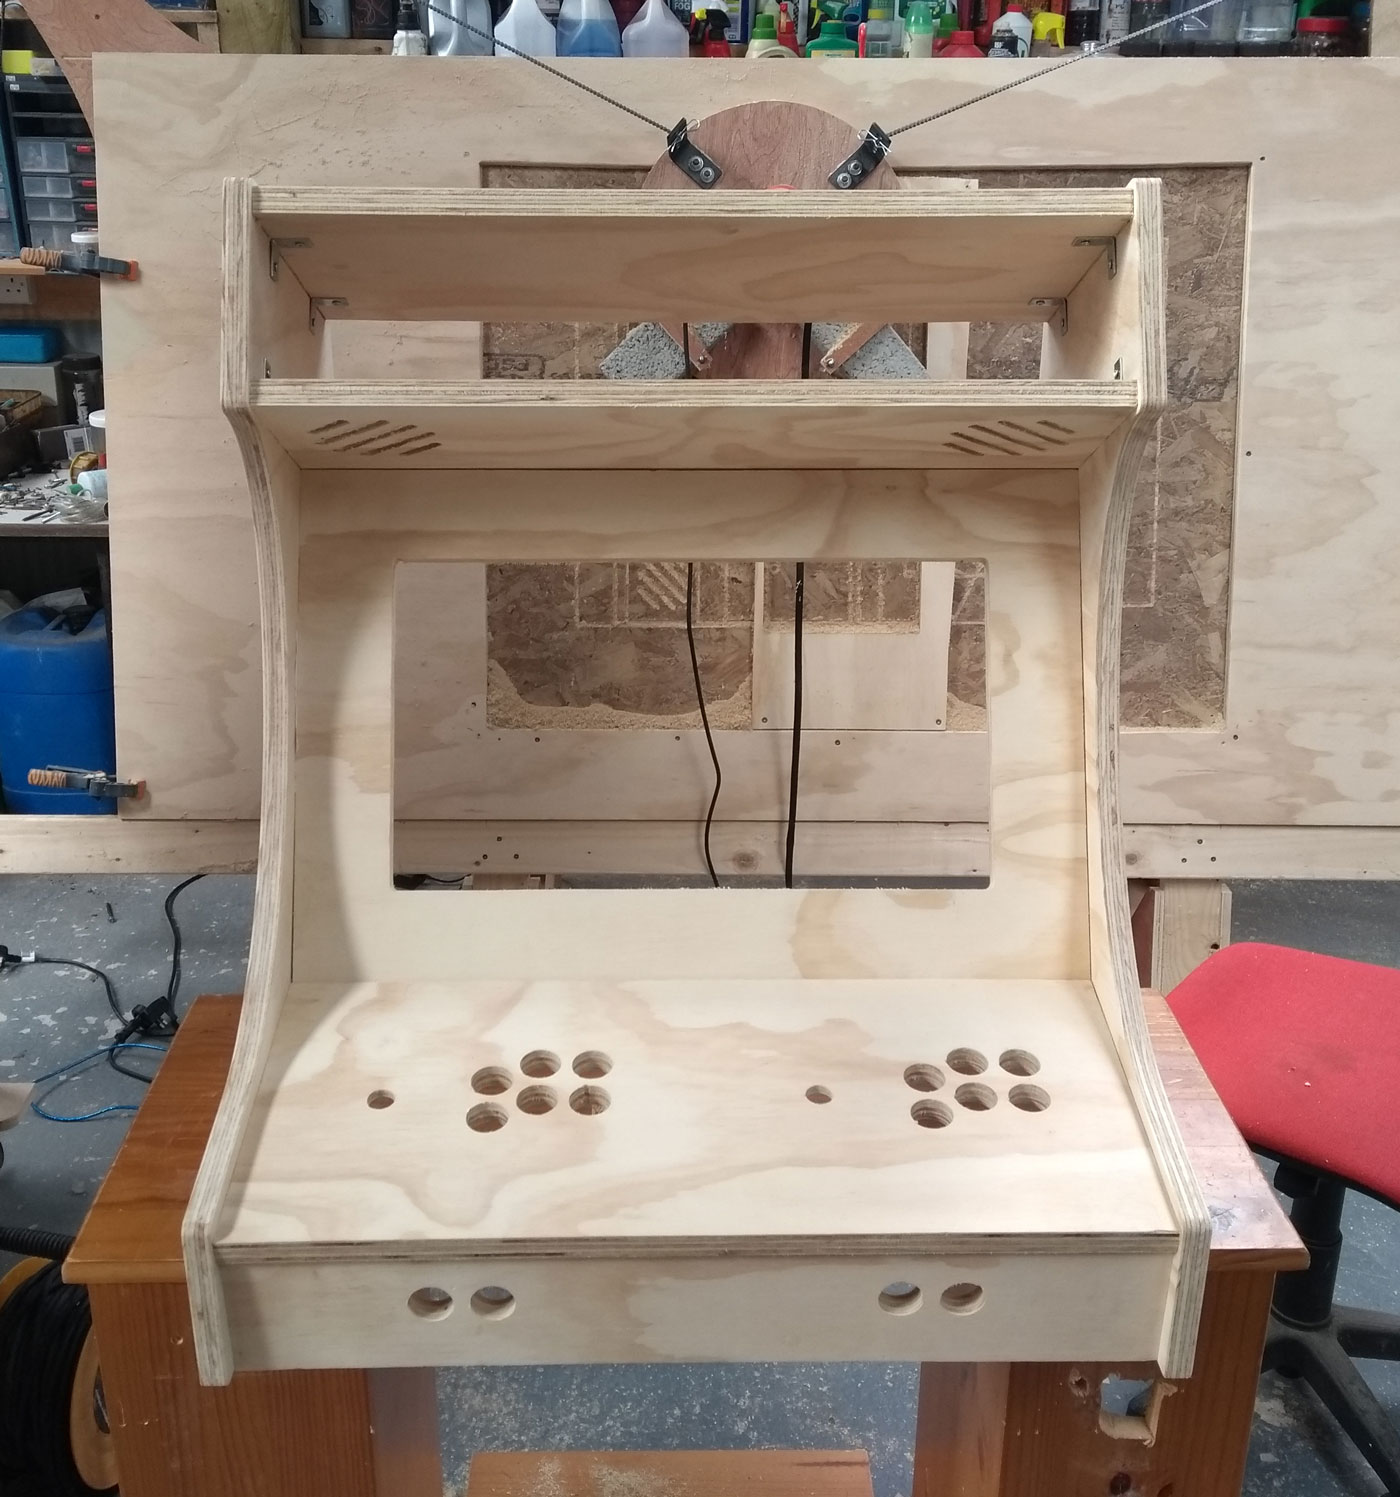
Tabletop Arcade
Instructions
Edit this pageThe svg files included cover most of the panels except for the two on the back, these panels were cut away from the Maslow. I used lots(>50) of little L brackets to fix the panels together.
Please note -
- The holes for buttons are ALL the same size.
- Only cut pockets for the joystick mounts. Depth depends on thickness of material and length of fixings.
- Most of the dimensions will probably be different for the hardware you are installing. Monitor, speakers, buttons.
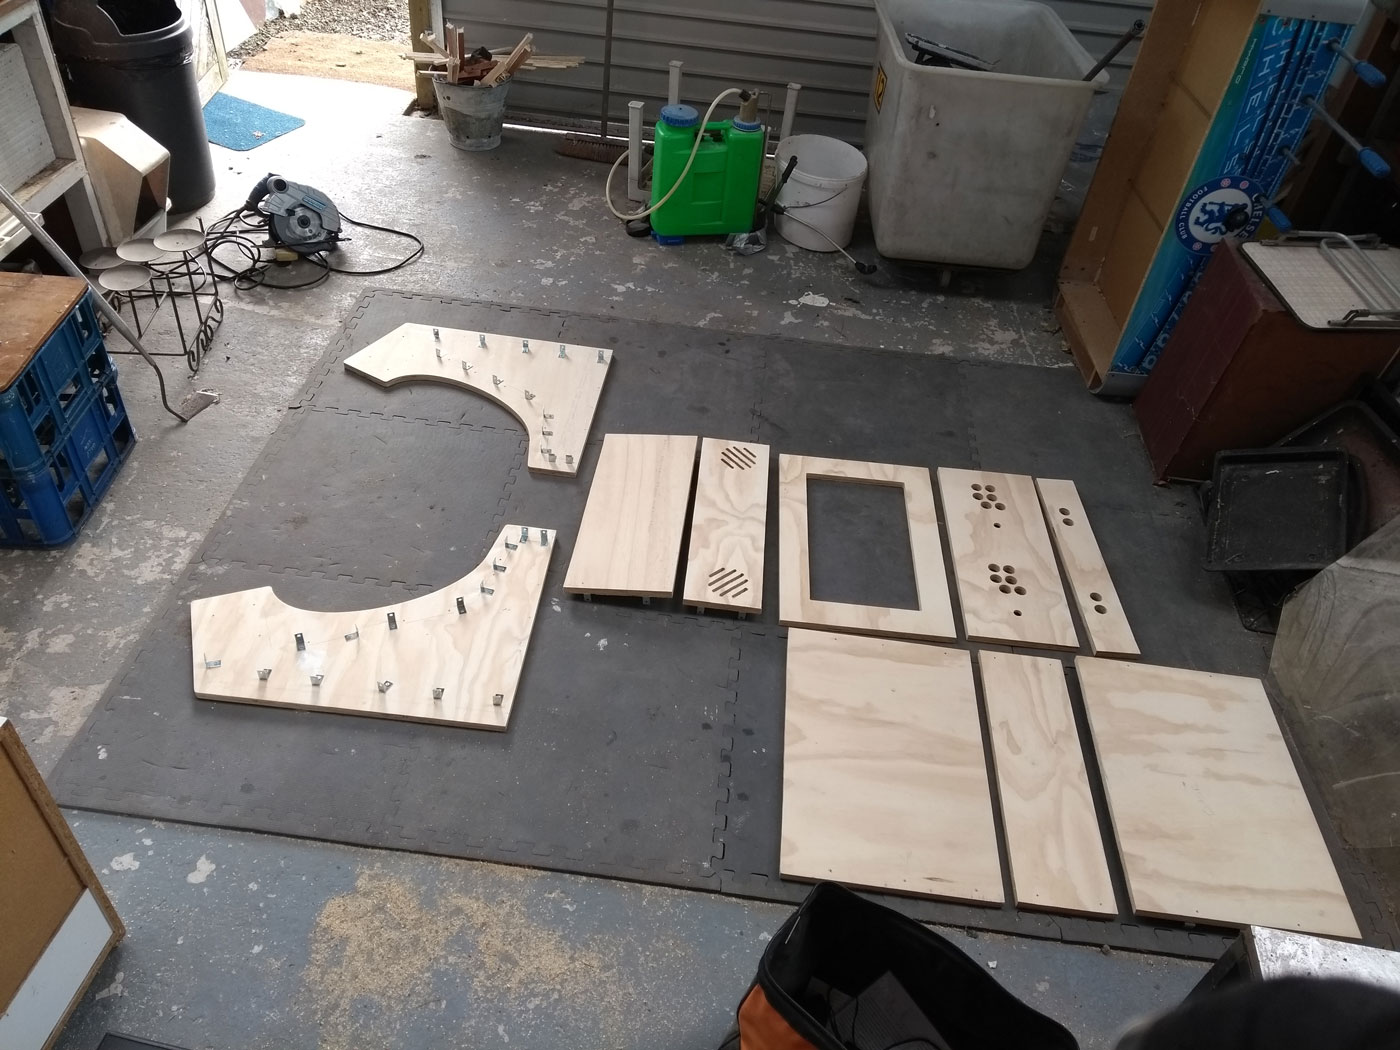
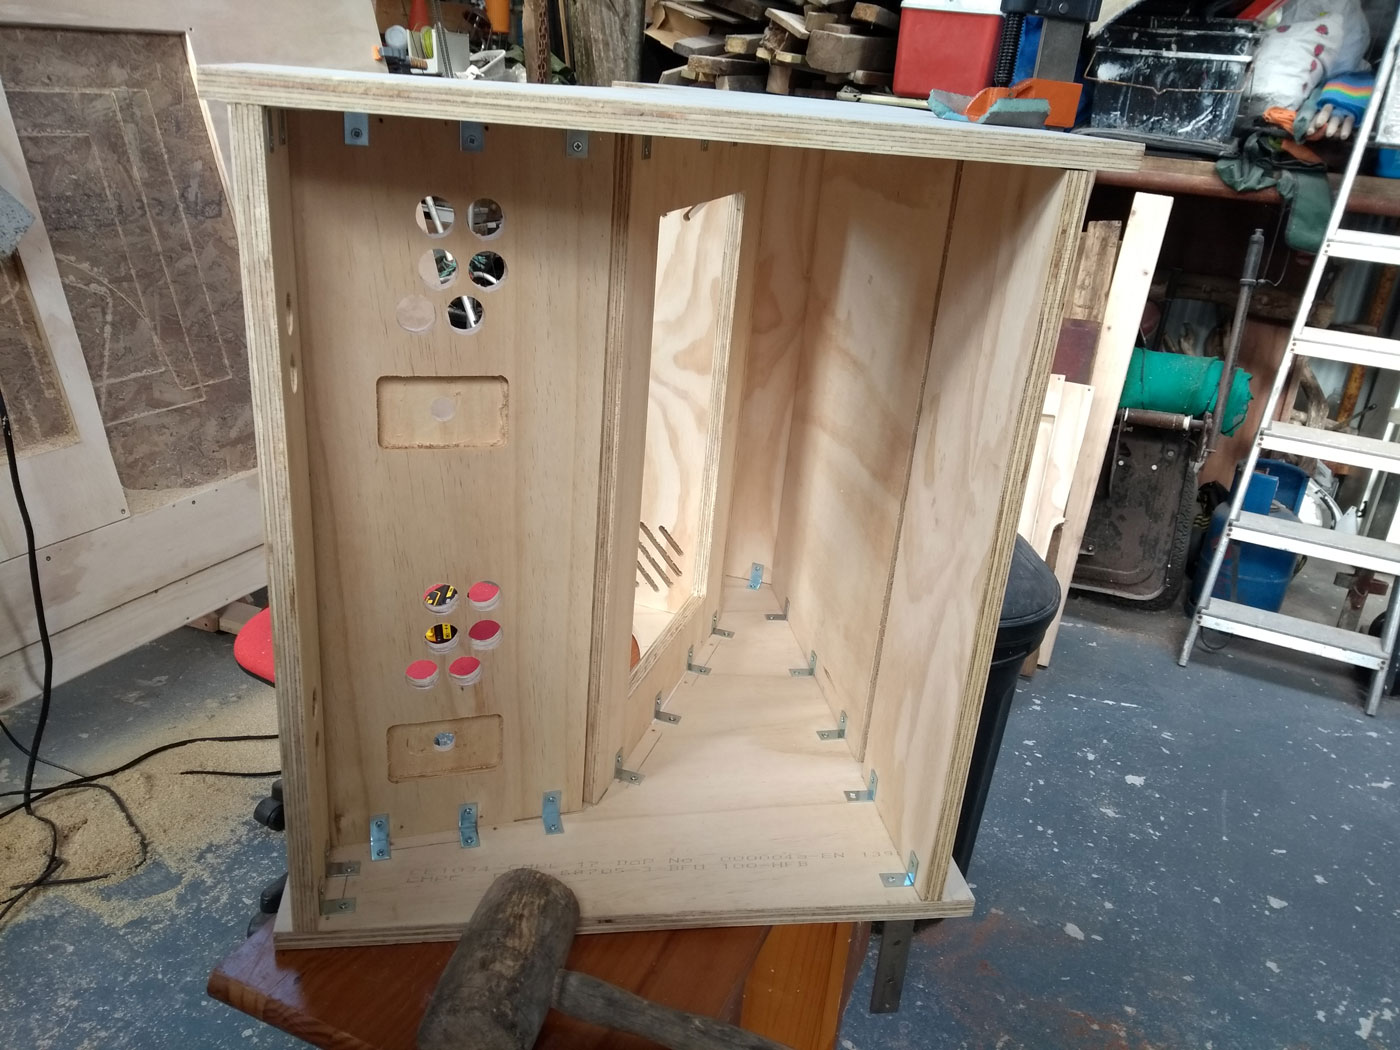
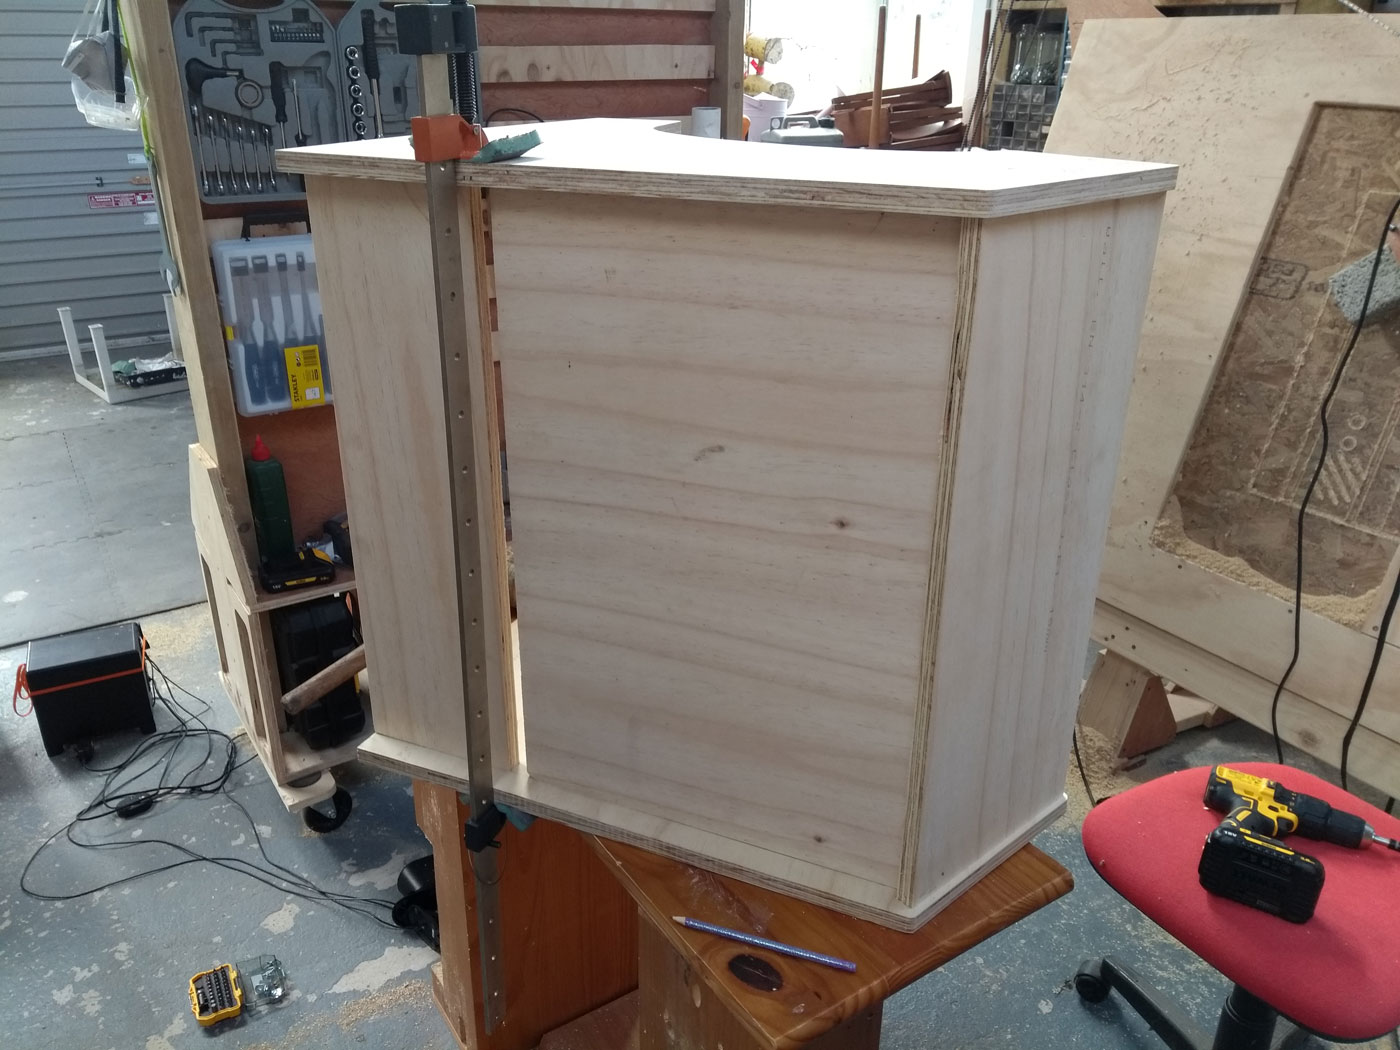
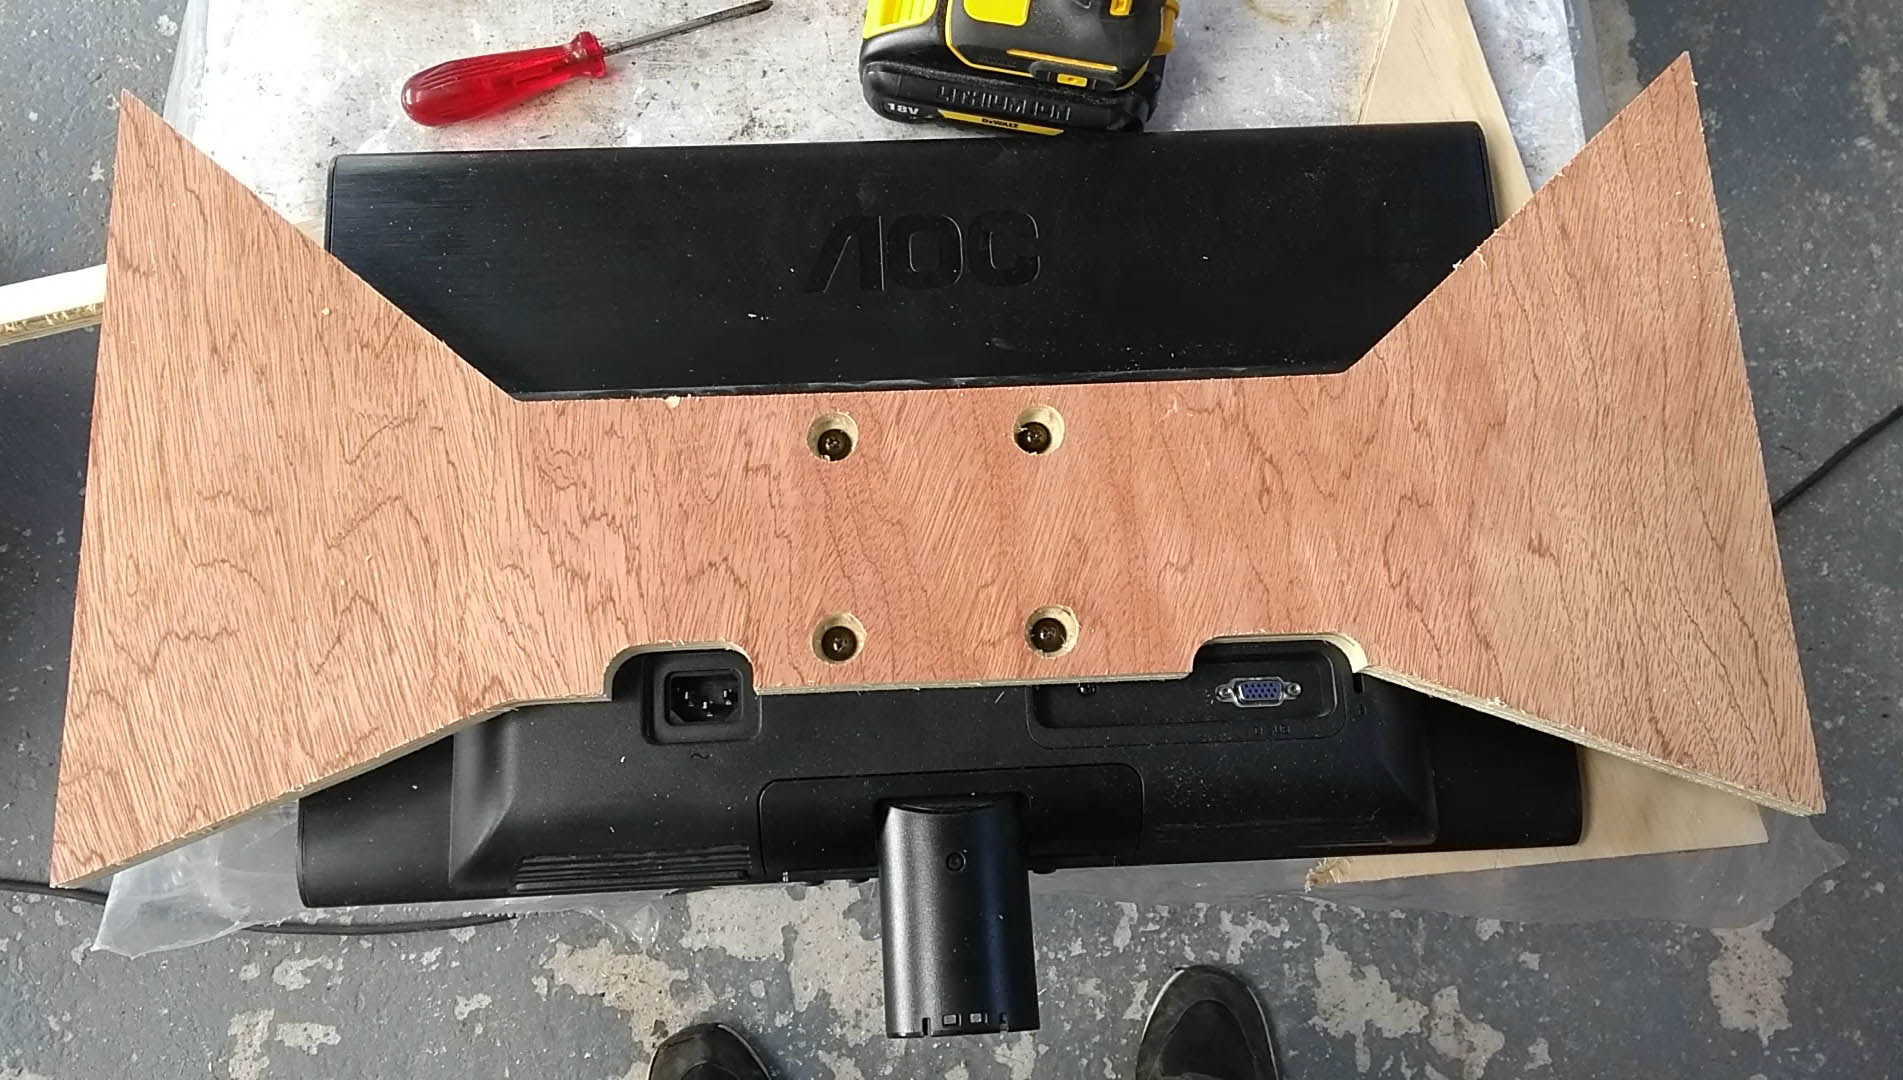
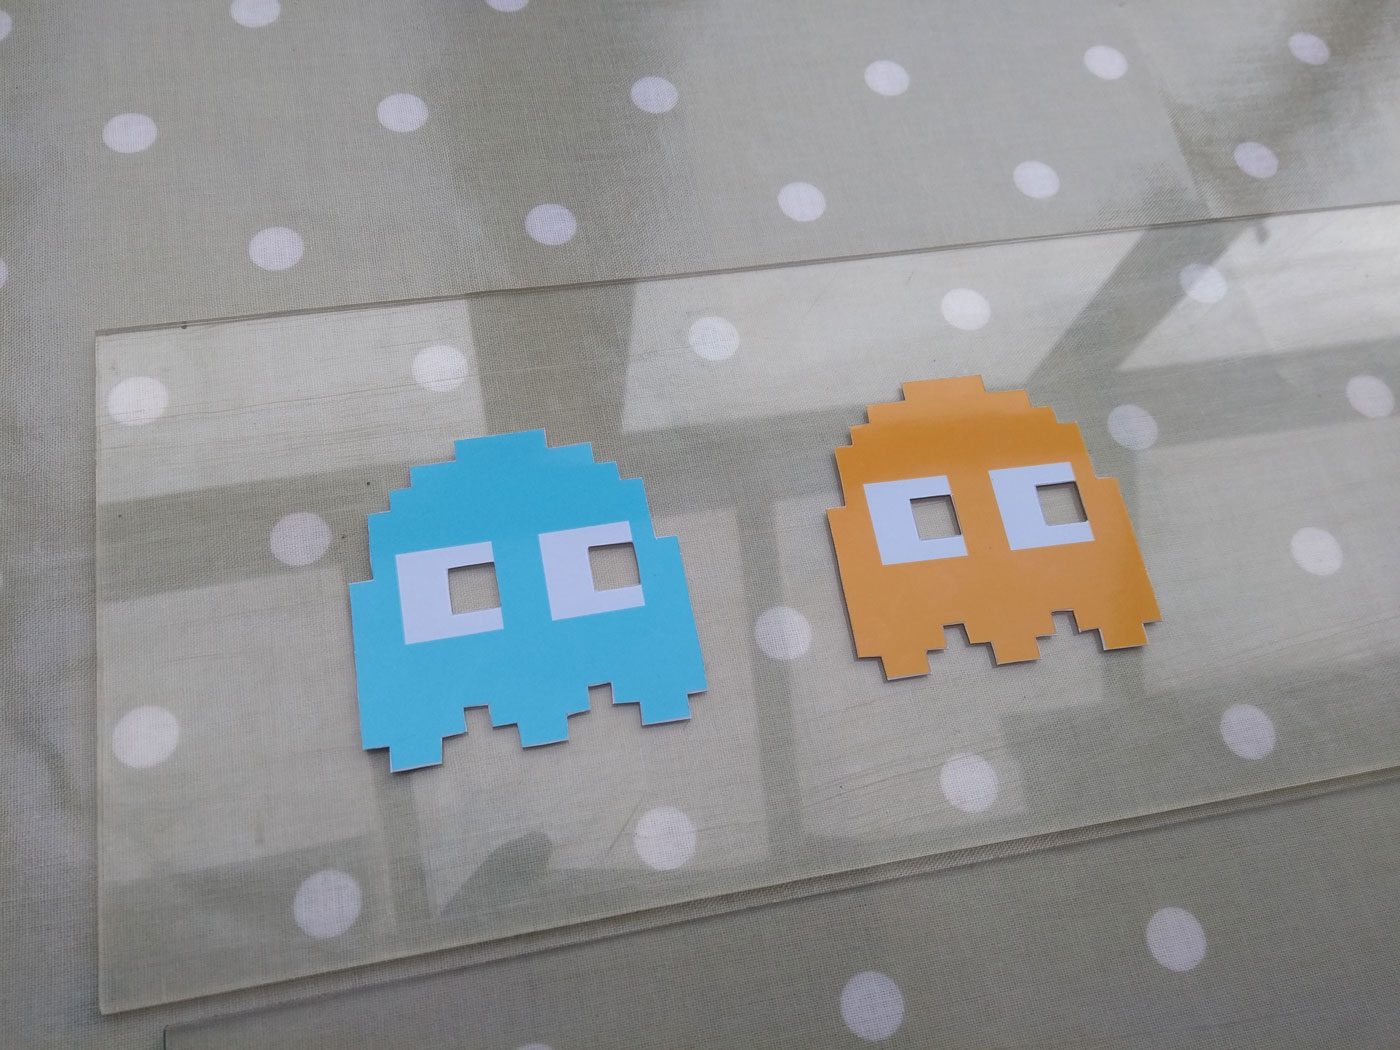
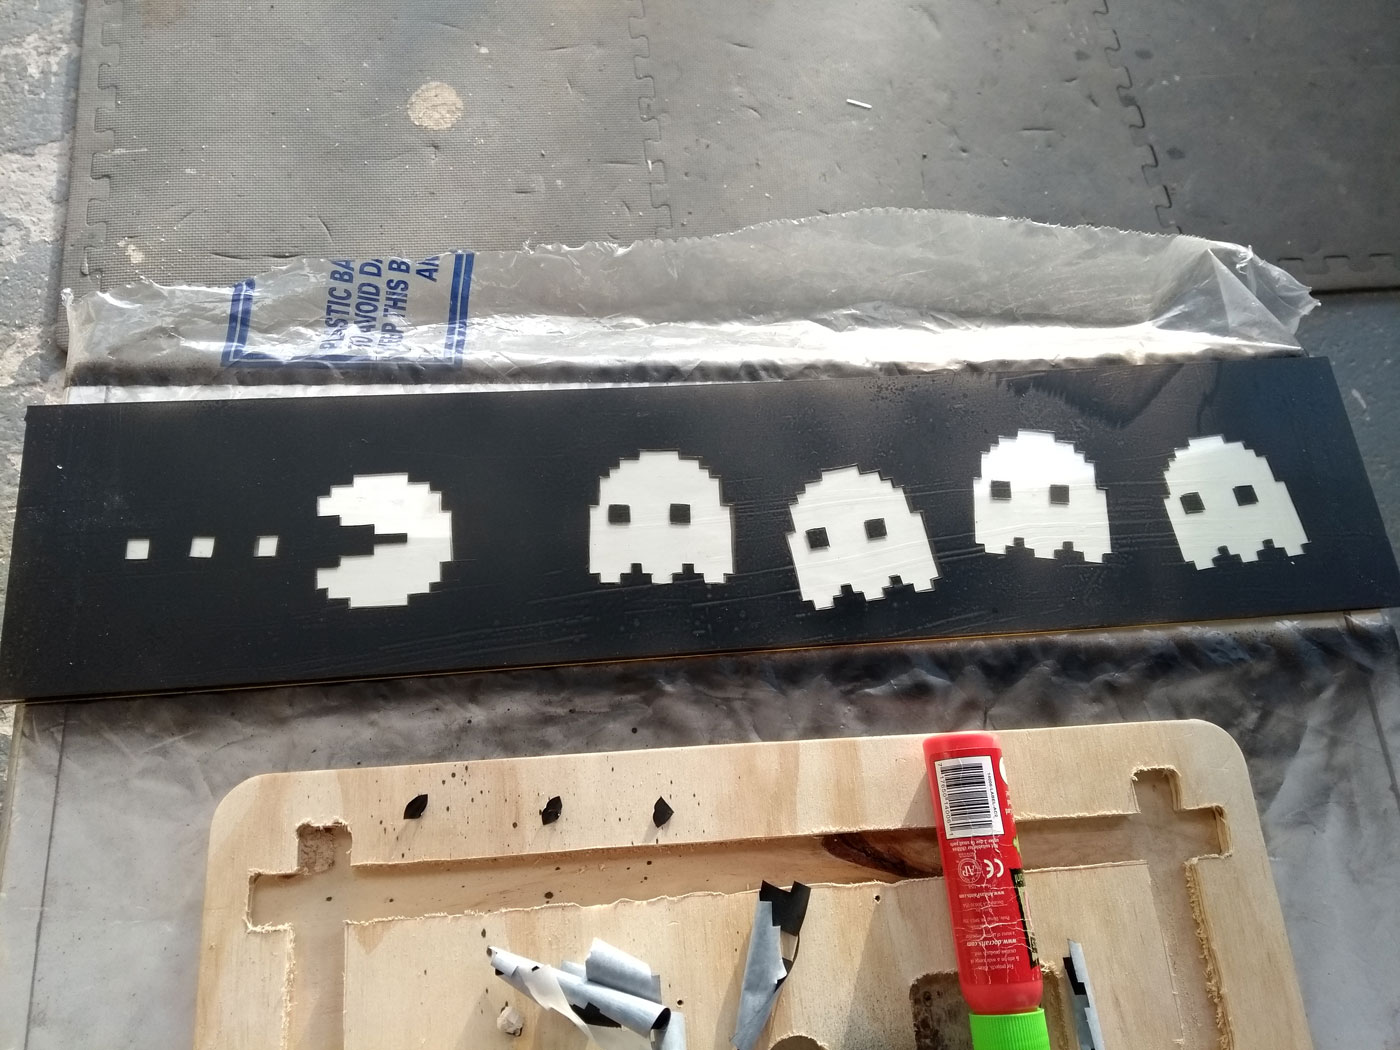
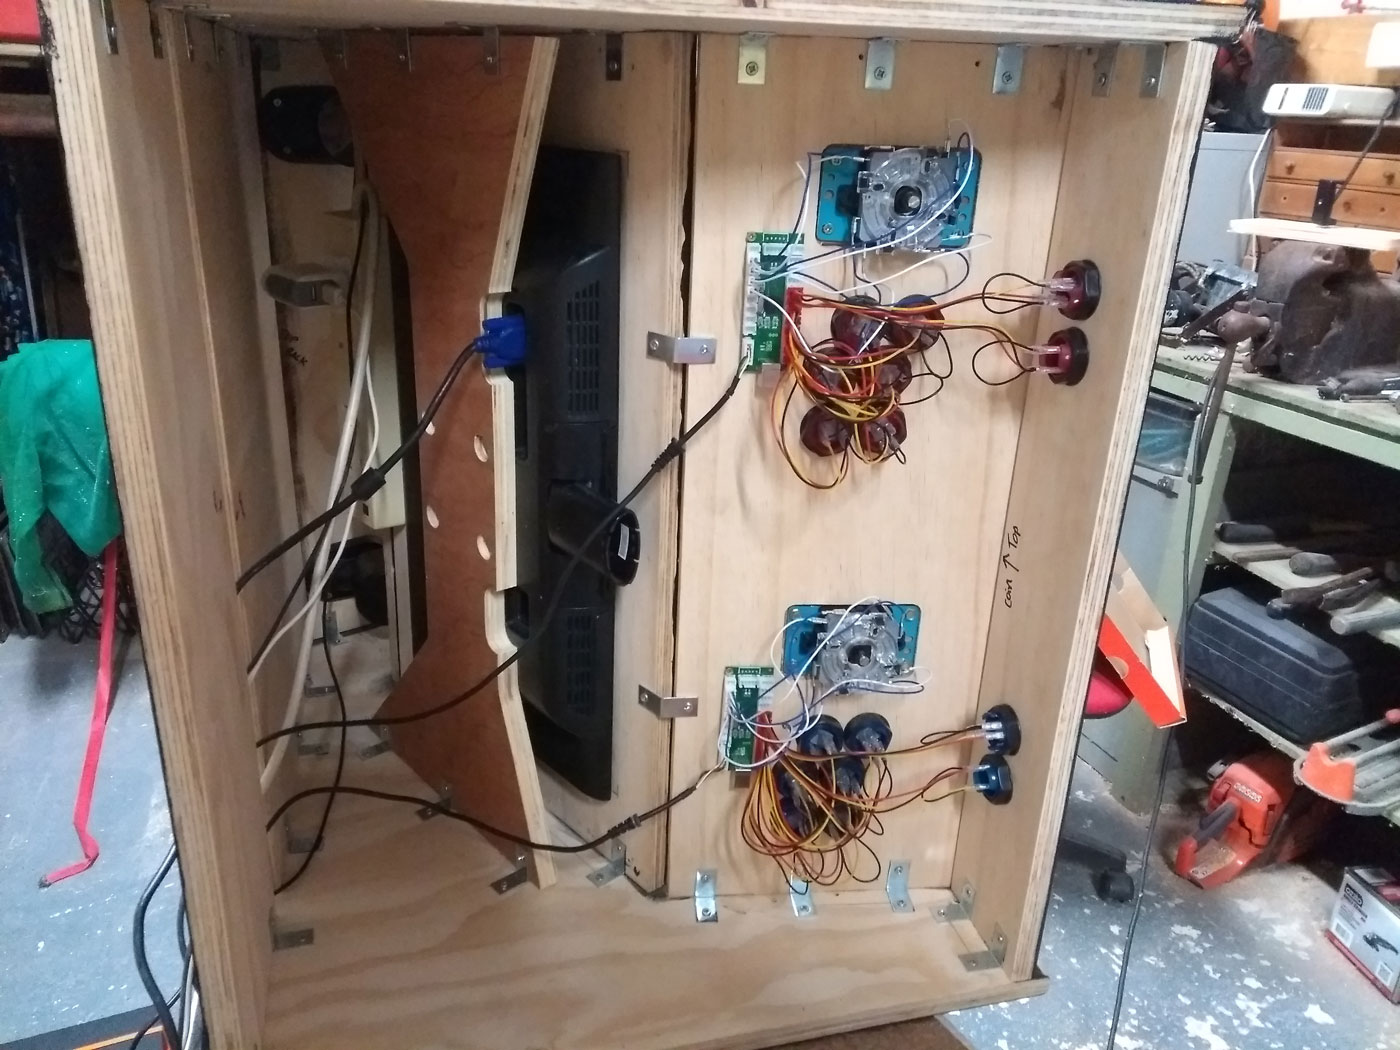
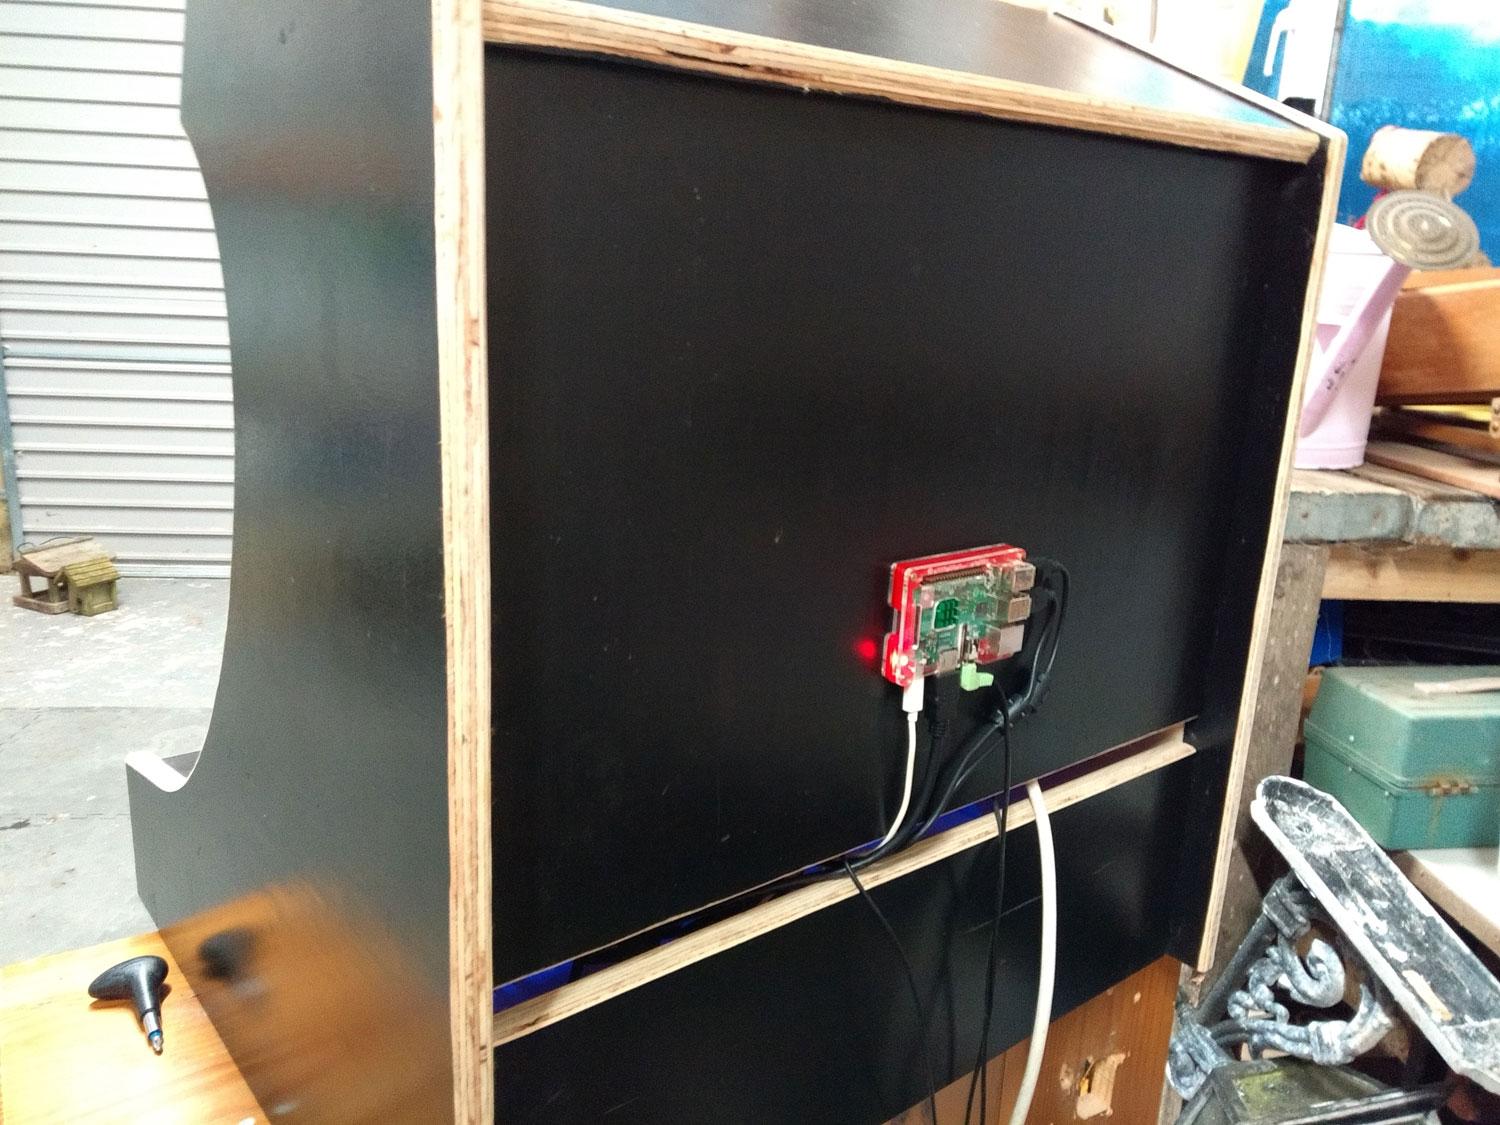
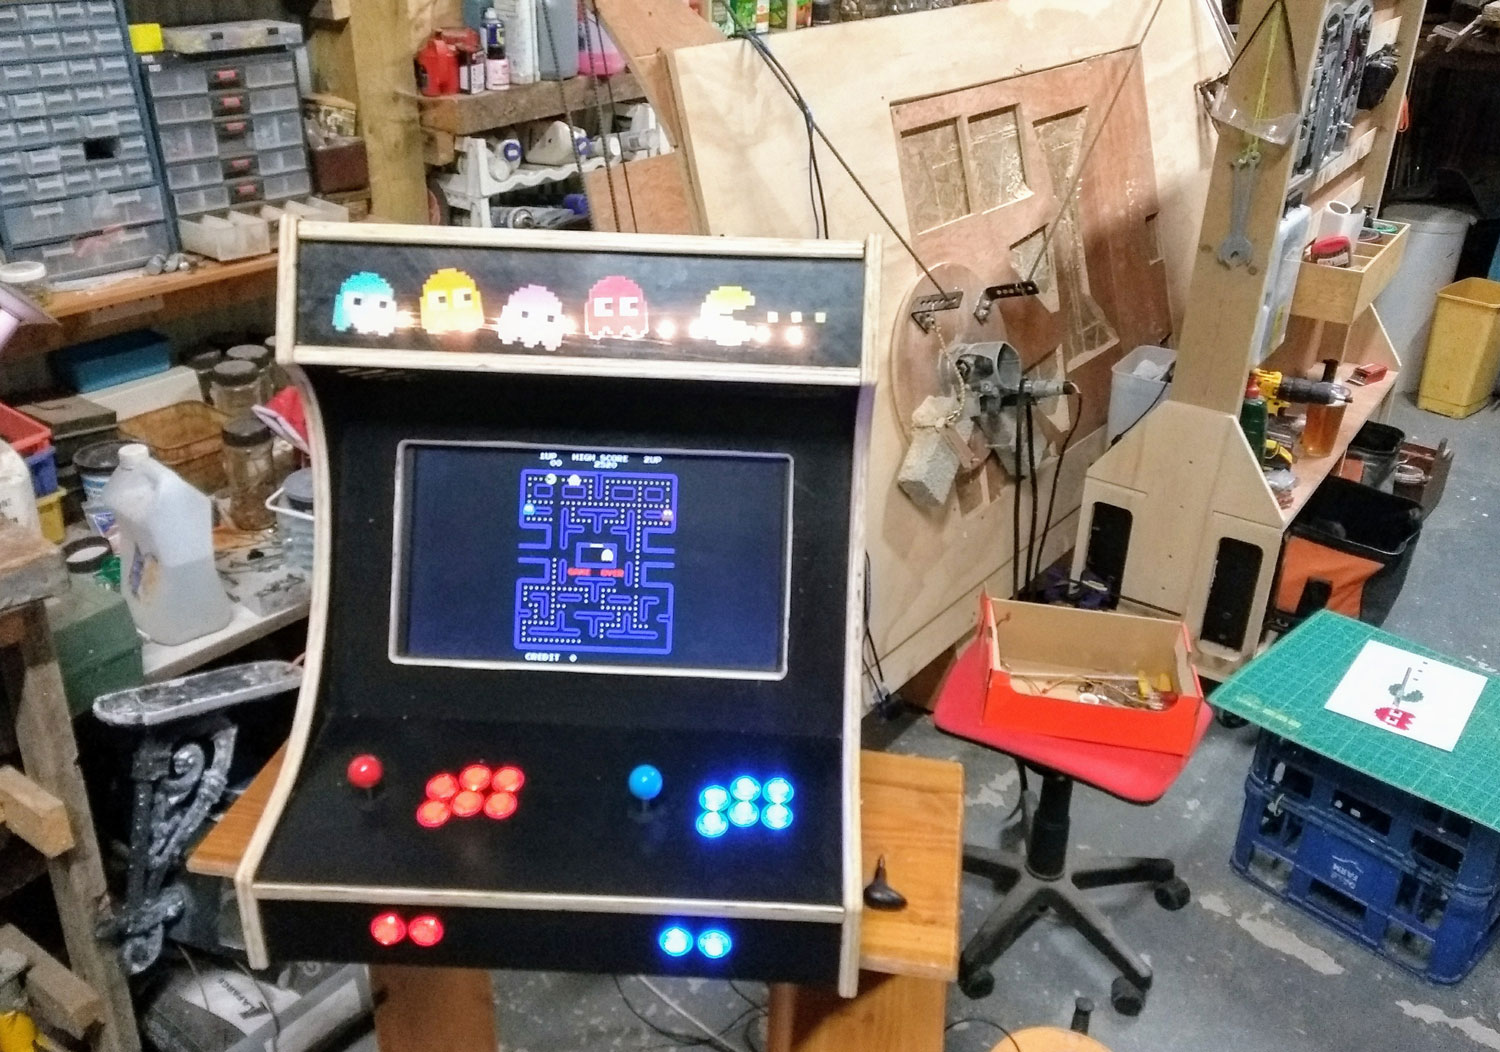
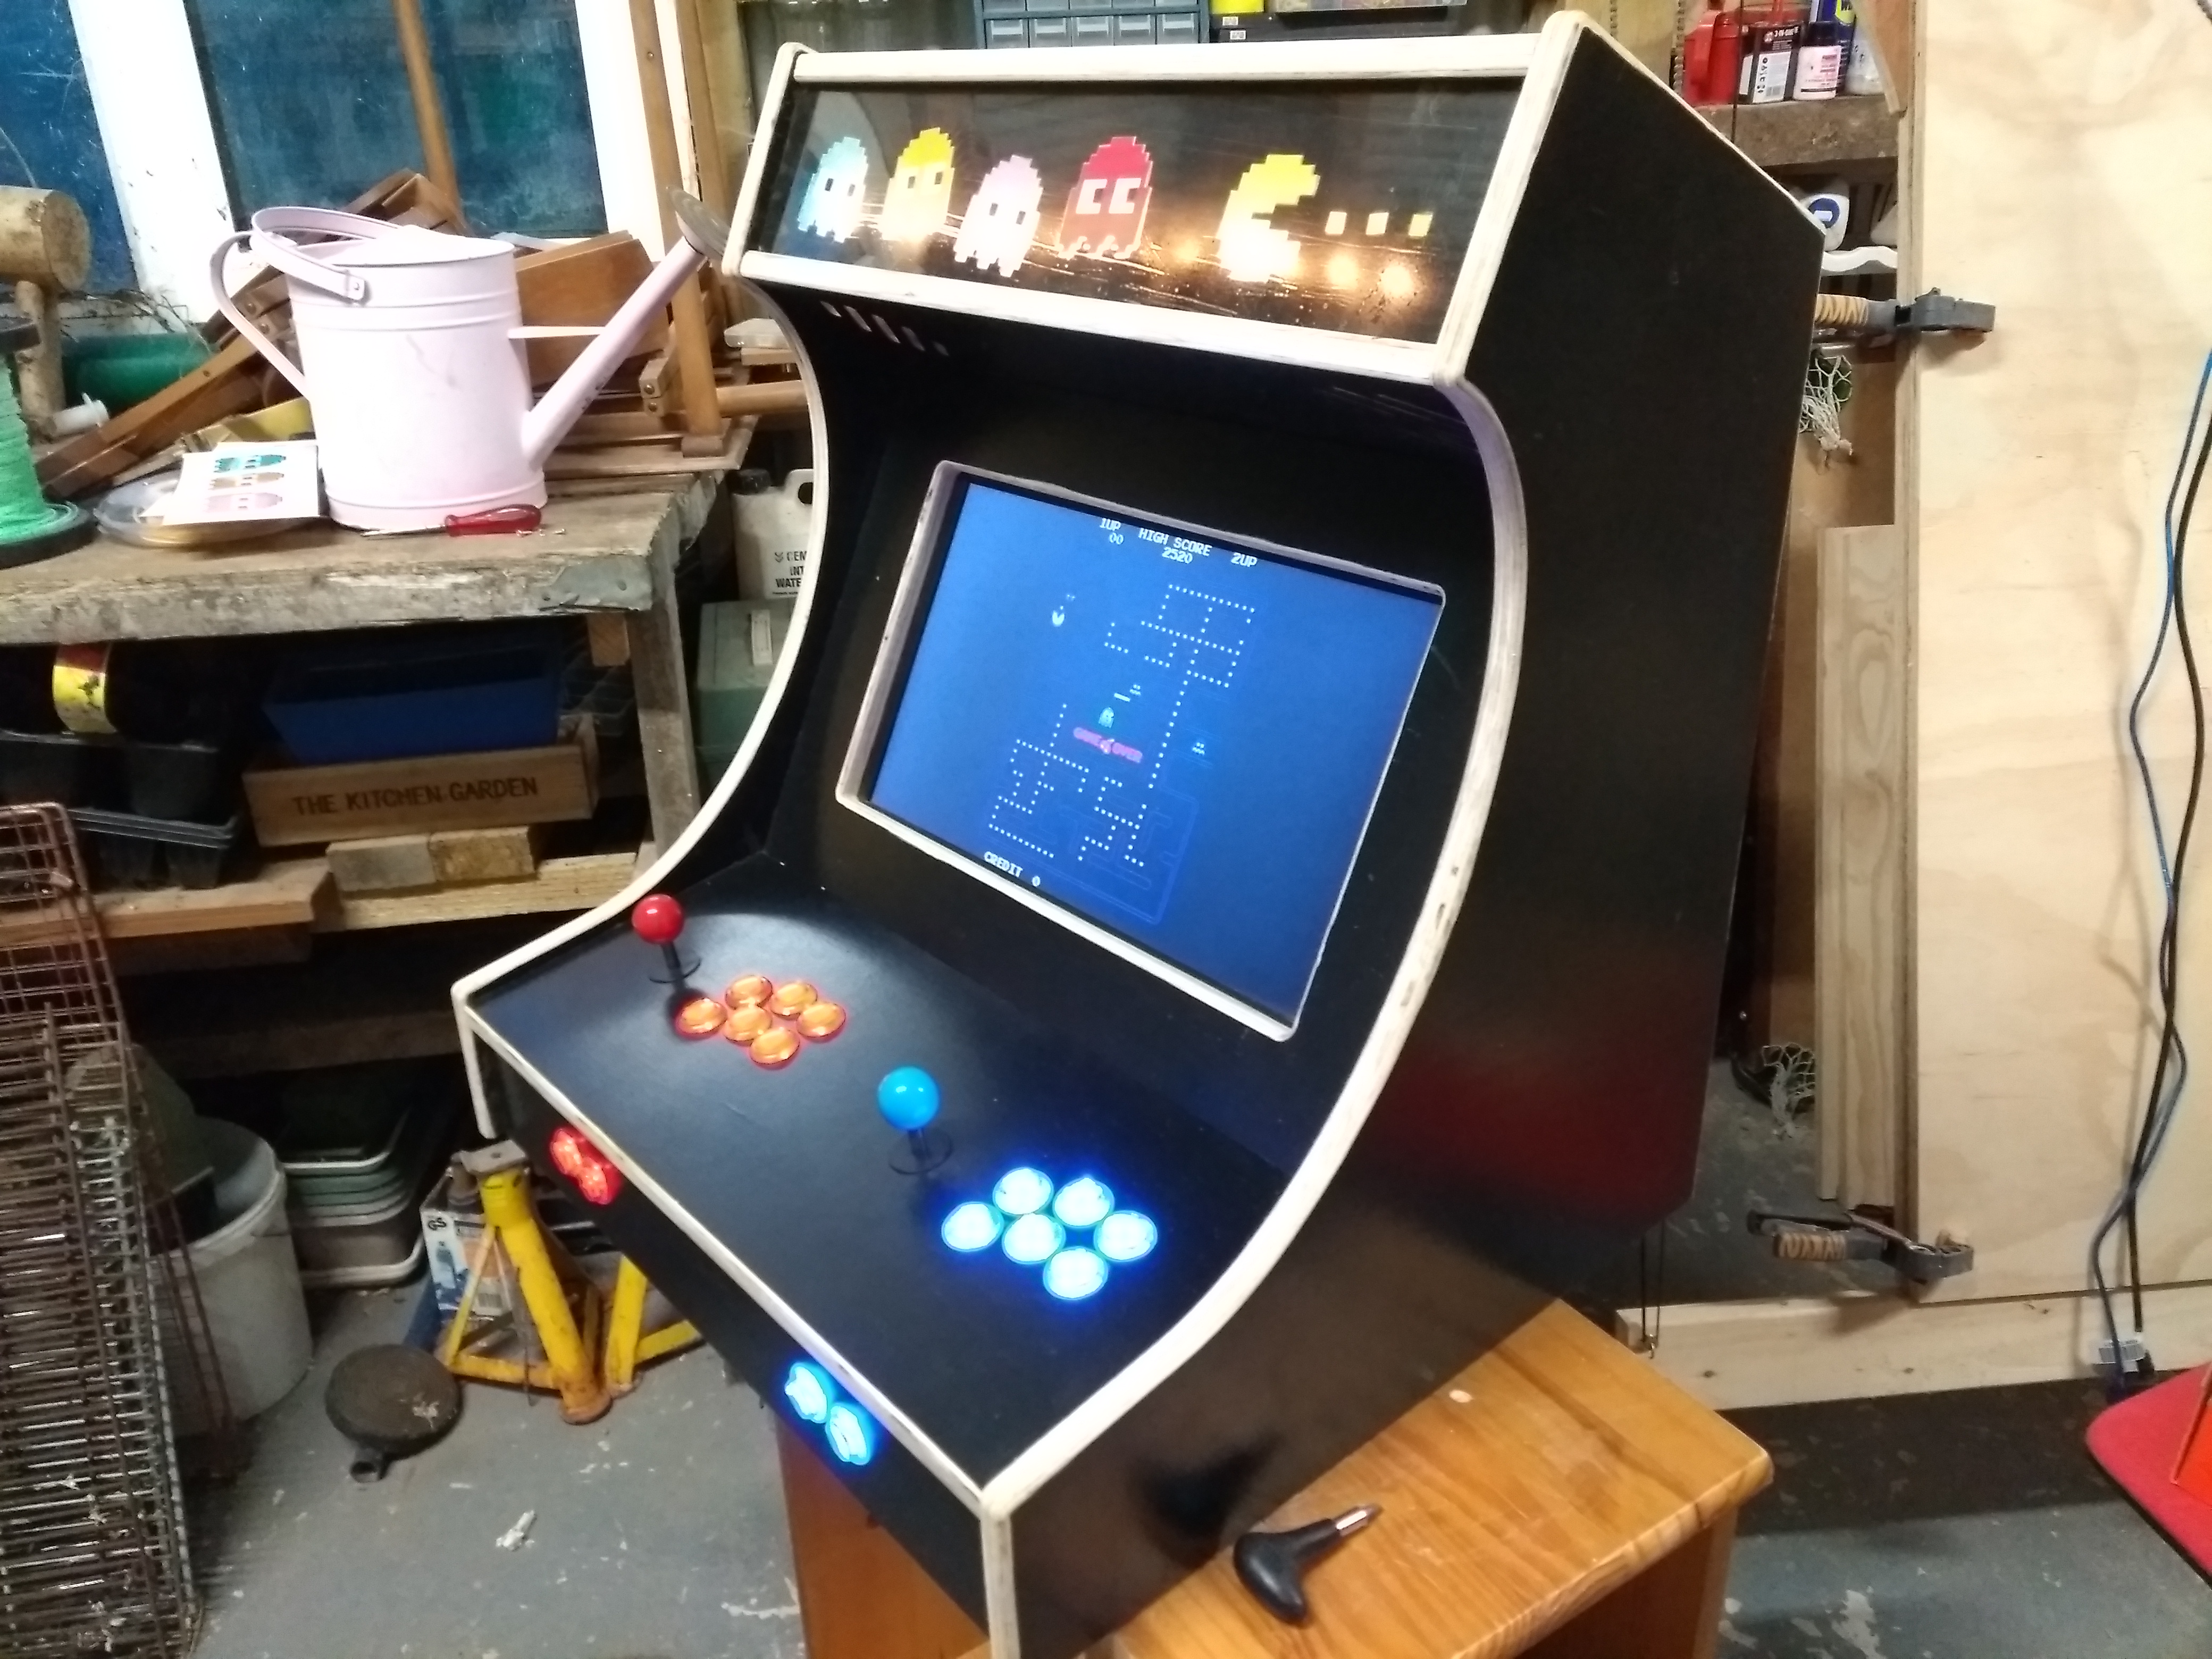
Video of time lapse - https://www.youtube.com/watch?v=BM8KnmVVrU8
Hope this helps someone.
Thanks!
Forums
Materials and Fixings
- 1 x Plywood sheet (TH)18MM (W)1220MM (L)2440MM £35
- 5 x Corner Braces, Zinc-plated 25 X 25 X 16.5MM 10 PACK £4.50
- 1 x Dulux interior black satinwood wood and metal paint 750ML £18
- 1 x Small screws 200 pack £2
Bought Electronics
- XCSOURCE 2 Sets Zero Delay Arcade Game USB Encoder PC LED Joystick DIY Kit for Mame Jamma & Other Fighting Games AC492 £50
- Raspberry Pi £30
- 1 x HDMI to VGA adapter Converter Male to Female £5
- IKEA light strip £12
2nd Hand Electronics
- 20inch VGA PC Monitor
- Logitech PC Speakers
- 4 gang plug extention
- USB power adaptor
- Micro SD card
Other Items
- Cable ties
- Cable clips
- Small paint roller, foam type
- Clear polystyrene sheets, black spray paint, photo paper, printer, glue, masking tape...
