The Cell PC
Instructions
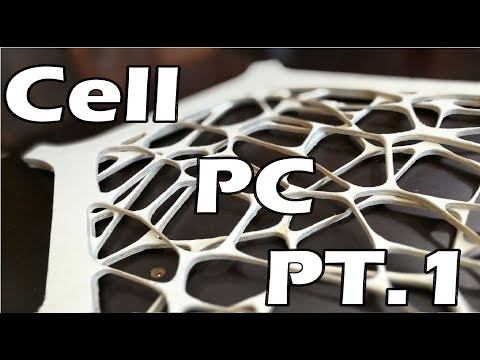
Edit this pageBuild videos can be found here:
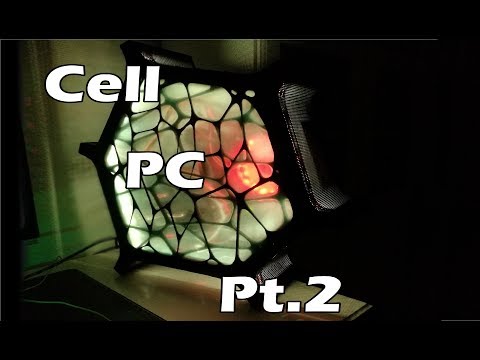
and here:
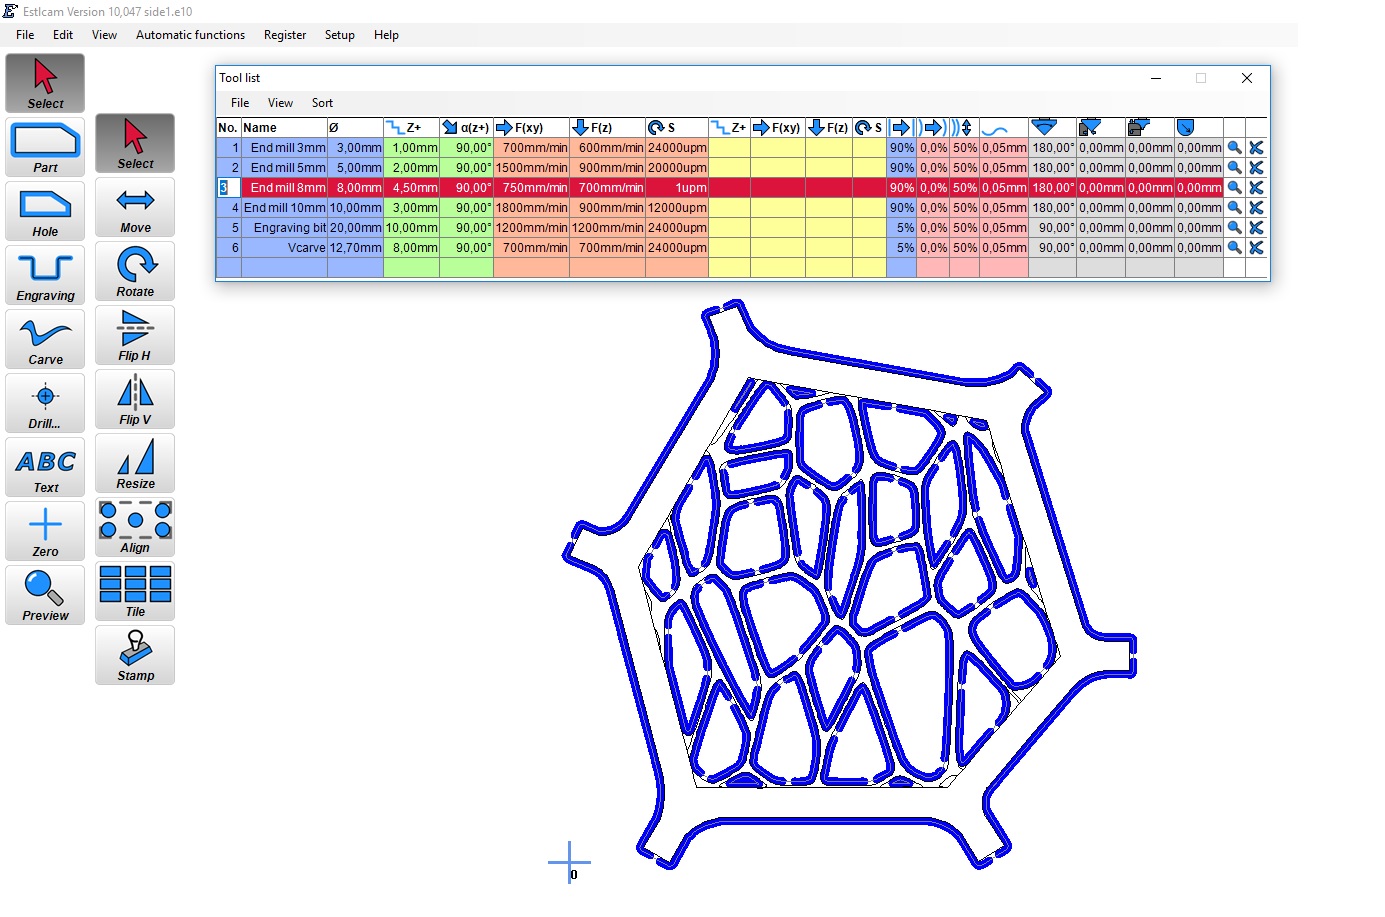
This PC case consists of three basic shapes you need to cut on your Maslow:
- side1.dxf
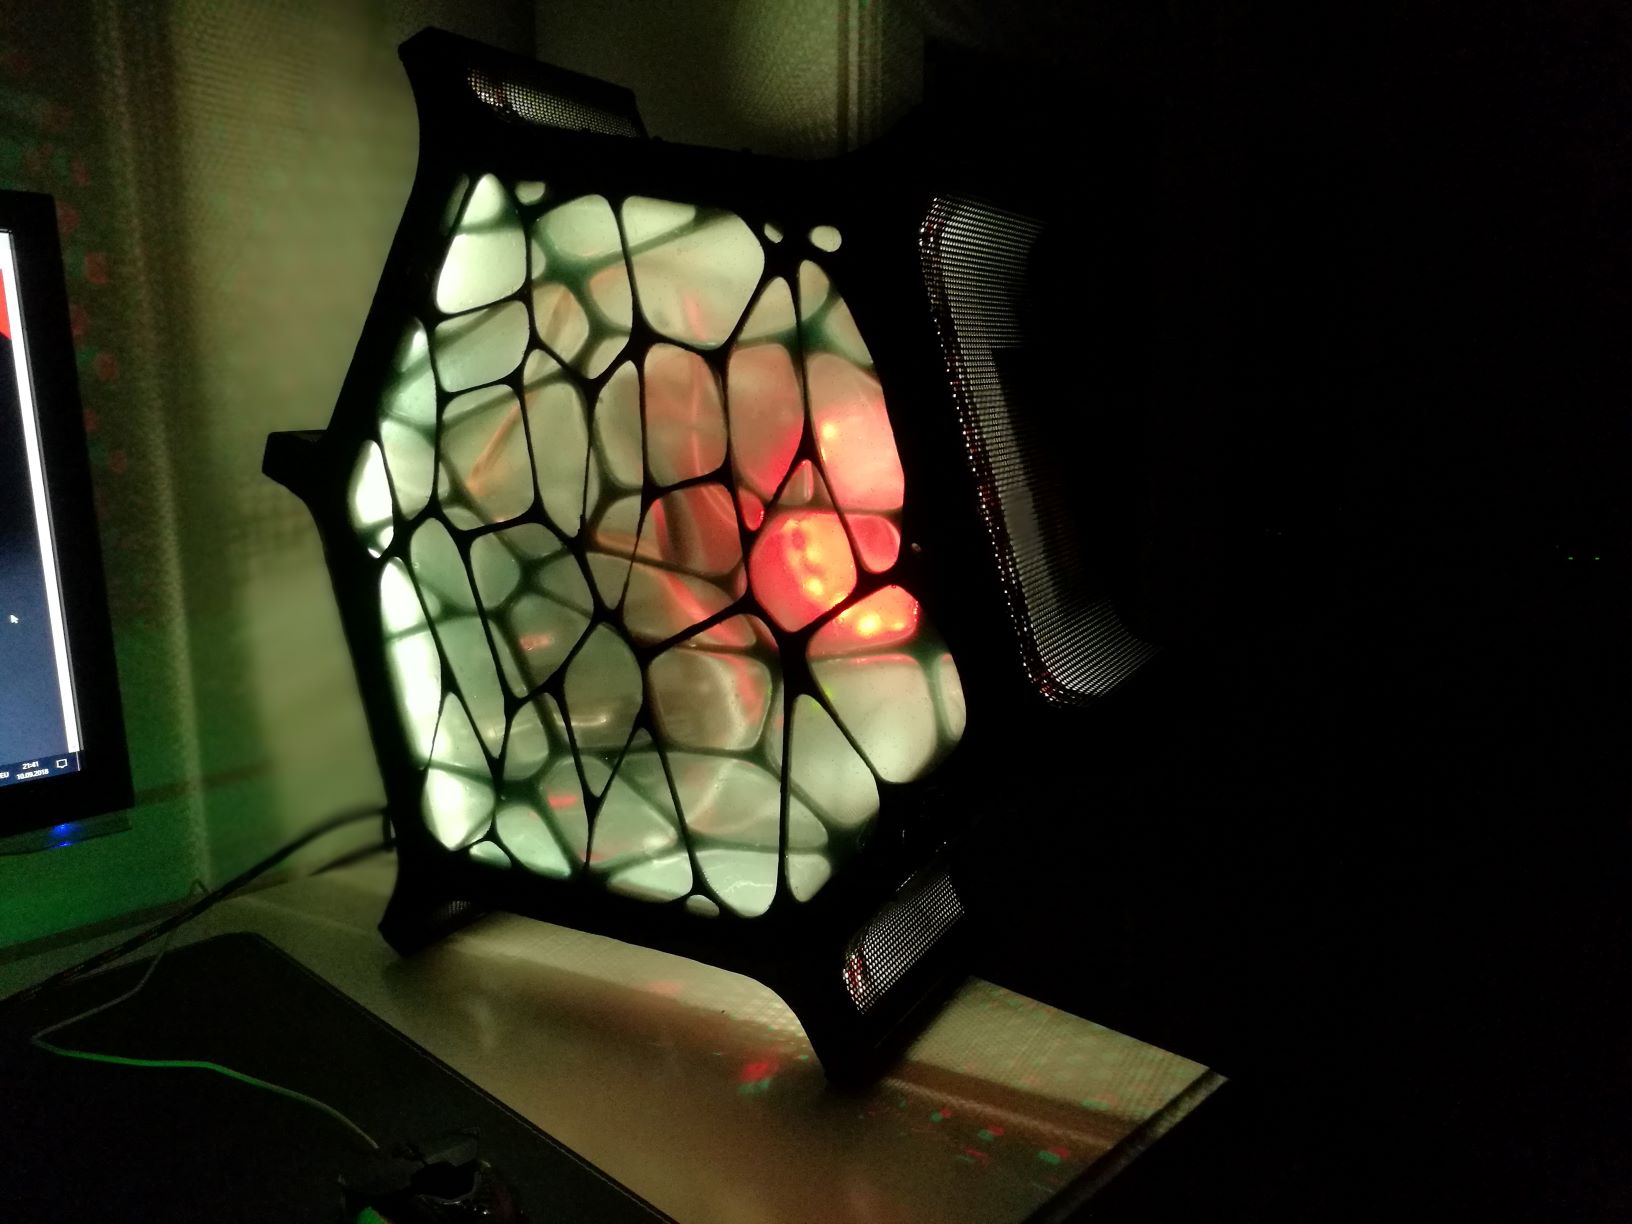
- side2.dxf which is the same basic outline but the Voronoi pattern inside is different to the one in side1.dxf
- the back plate which is simply the outline of either side1.dxf or side2.dxf without the inner pattern (cut this twice)
Use the CAM software of your choice (I use Estlcam) and load one of the dxf files.
Create a toolpath along the outside of the shape.
Cut the Voronoi hole pattern along the inside of the individual shapes.
Create holding tabs - I used six along the outline and at least two per hole.
The smaller holes can be milled out using a 'pocket' function.
Cut six spacers out of 20x20mm stock - their length mainly depends on the height of your PC components.
(Mine had to be 160mm long for example)
Measure ~15mm from the outer edge of side2.dxf and draw six straight lines.
Cut along the lines with a thin-bladed saw so you end up with the inner part of your Voronoi patterned lid and a hexagonal frame.
Glue the two back plates on top of each other and place the spacers into each corner.
Secure the spacers with wood screws and put the frame on top of them.
Cover the space between top and bottom with perforated aluminum sheet, secure with screws.
Paint.
Glue the cutout of side2.dxf onto your future inner side of side1.dxf.
Paint.
Use casting resin to fill the voids of the voronoi pattern.
Add PC components and LED strip lights to taste.