Maslow Firmware
Files
Edit this page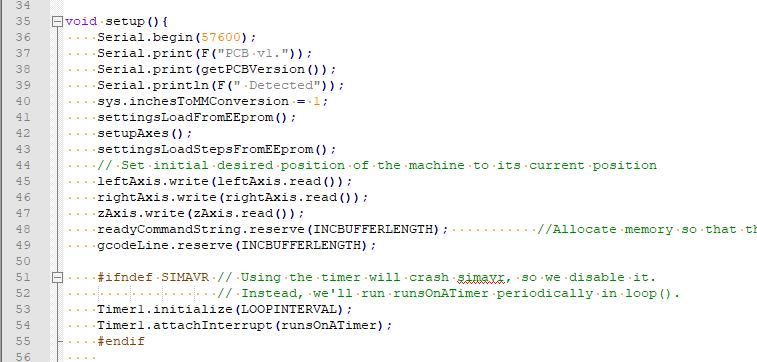 | Download FilesSource |
Maslow Firmware
This is the firmware which controls the Maslow CNC machine

This is the firmware for the Maslow CNC Router
Steps to setup the Firmware development environment
First clone the Firmware repository, then install and setup the IDE of your choice.
Using Arduino IDE
- Download Arduino IDE 1.8.1 or higher
- Install Arduino IDE and run Arduino IDE
- Navigate menus: File, Open
- In the file chooser navigate to the cloned repository and choose the "cncctrlv1.ino" file to open
- Navigate menu: Tools, Board, change to "Arduino/Genuino Mega or Mega 2560"
- Navigate menu: Sketch -> Upload
This should compile the project without errors, and possibly some warnings.
Using PlatformIO
- Download package for Atom
- Follow directions for installing PlatformIO within Atom
- Within Atom navigate menus: PlatformIO, Open Project
- Select "Firmware" directory
- Click "Open Firmware"
Using Eclipse Neon C/C++ with Sloeber plugin
- Download Eclipse C/C++ Neon or higher
- Install Eclipse C/C++ and run Eclipse
- Install Sloeber Arduino plugin
- Navigate menus: Help, Install New Software...
- Copy this URL in the "Work With" field: http://eclipse.baeyens.it/update/V4/stable
- Select "Add" button
- Select "Sloeber Arduino IDE" check box
- Select "Finish" button
- Accept defaults and accept licenses, the plugin will restart Eclipse, and configure the plugin
- Change to Arduino perspective, navigate menus: Window, Perspective, Open Perspective, Other...
- Choose the "Arduino" perspective and select "Ok" button
- Create an Arduino project
- Navigate menus: File, New, New Arduino Sketch
- Project Name: cncctrlv1
- Select "Next" button
- Select appropriate item from "Platform folder" drop down listing
- Select Board: Arduino/Genuino Mega or Mega 2560
- Select Upload Protocol: Default
- Select Processor: ATmega2560 (Mega 2560)
- Select "Finish" button
- Import project source code
- Select project folder, navigate menus: File, Import...
- Expand "General" and select "File system"
- Select "Next" button
- Select the "Browse" button to select the source location (location of the cloned repository cncctrlv1 directory)
- Select whole source directory in the left pane
- Open Advanced Settings by klicking on "Advanced>>" button
- Select 'Create Links in Workspace' and 'Create virtual folders' leave other settings untouched
- Select 'Finish' button
- Eclipse asks if overwriting the original cncctrlv1.ino file is ok. Confirm with 'yes'.
- Update eclipse project include paths
- Select the project folder in the project explorer and click Project->Properties in the menu.
- In the Project properties left Pane select C/C++ Build->Settings
- In the right Pane select the 'Tool Settings' Tab and add the path to the source location to the include paths of all compilers/linkers of the toolchain.
- The last two steps may differ between toolchains.
Using NotePad++ in Conjunction with the Arduino IDE
- Download NotePad++ (Windows only) link
- Download the Arduino IDE link
- Set that you would like use an external editor from within the Arduino IDE by clicking File -> Preferences -> Use External Editor *The Arduino editor will no longer allow you to edit the files, but instead will only work to compile and upload your code. *The code can be edited from within NotePad++ *This method can be used on other platforms with editing programs other than NP++
Instructions
Edit this pageMaslow Firmware Setup
Installing new firmware on your machine is important. We come out with a new firmware version every other week so be prepared to do this regularly. This process will also install the proper drivers to connect to your Arduino on some older computers so if you have trouble connecting it can be helpful to do this process on the same computer you will control the machine with.
Step 1: Connect Your Arduino
Connect your Arduino to your computer using the provided USB cable.
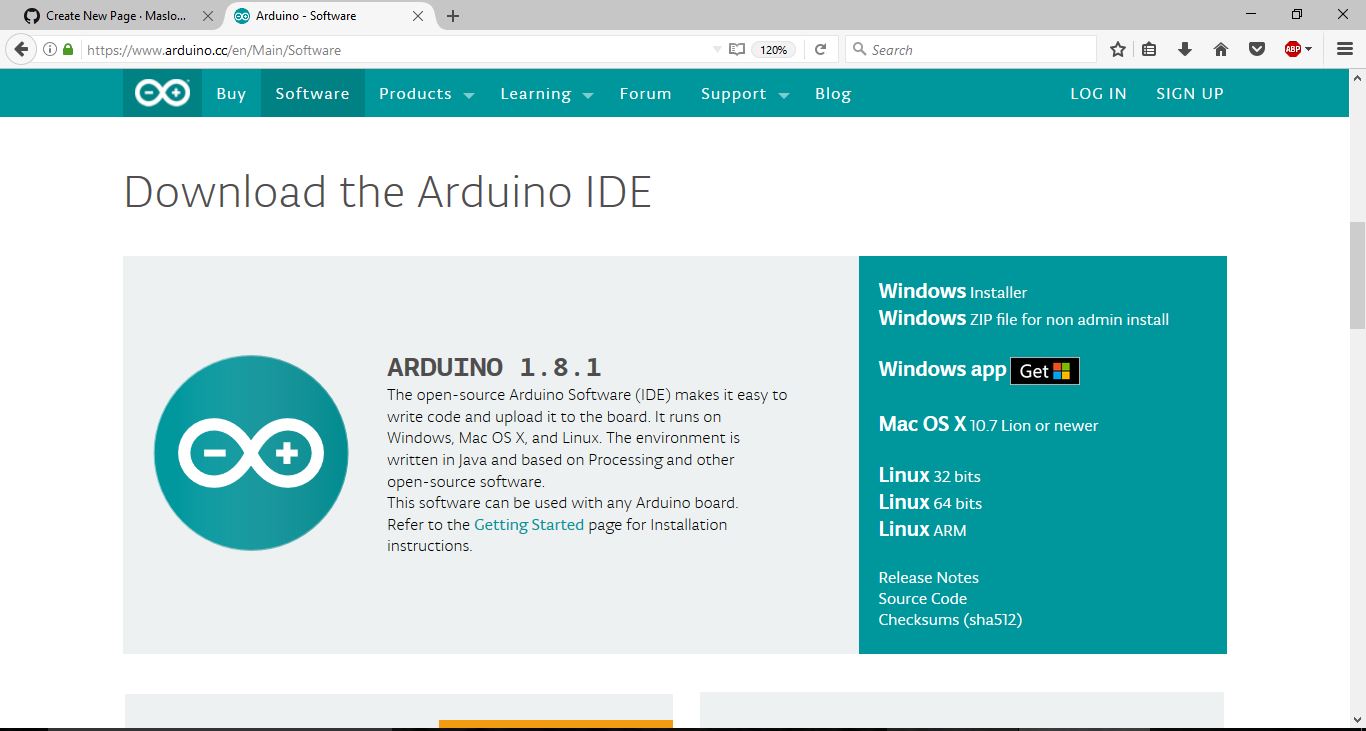
Step 2: Download The Arduino IDE
Download and install the last Arduino IDE from https://www.arduino.cc/en/Main/Software. Older versions of Arduino IDE have problems with libraries when compiling the firmware, so make sure you have the latest version.
Note - For Windows there are three options: "Windows Installer", "Windows Zip", and "Windows App".
Some users have reported problems with the "Windows App" version.
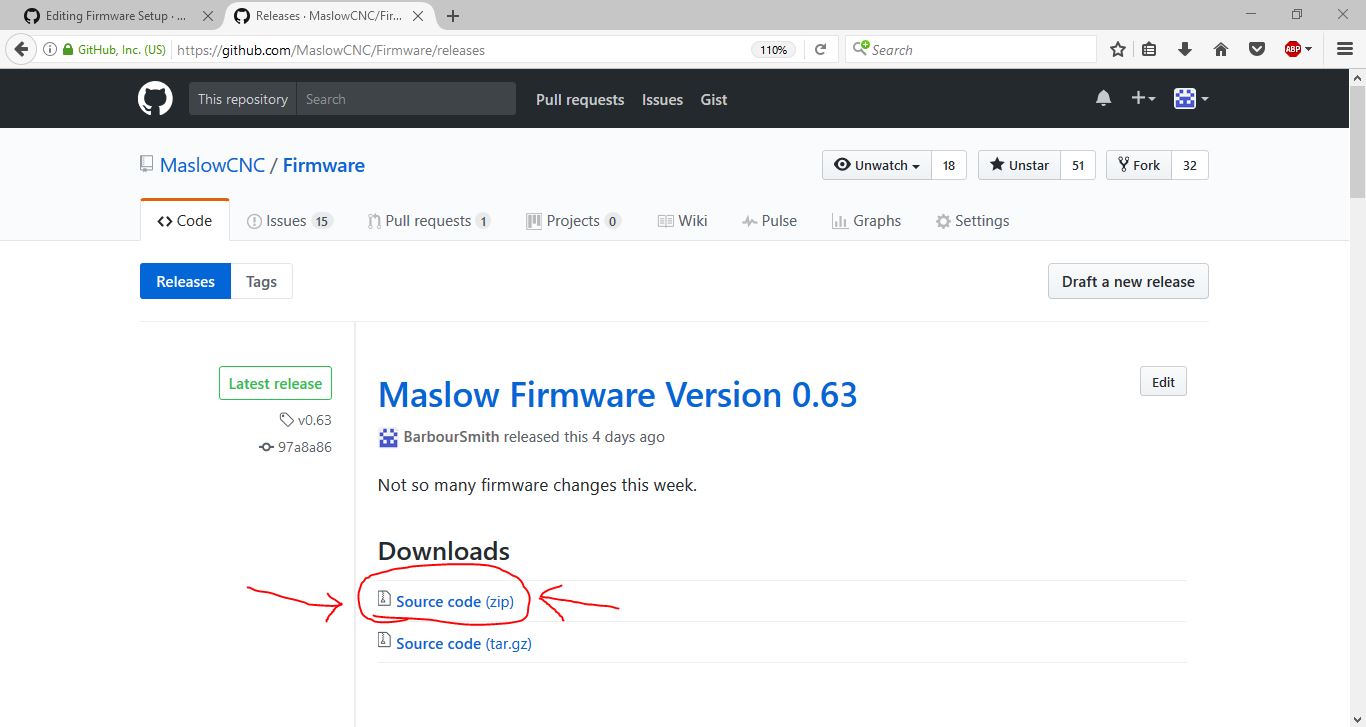
Step 3: Download The Latest Maslow Firmware
You can do this at http://github.com/MaslowCNC/Firmware/releases/ Click the zip file for the most recent release to download it. Extract the files from the zip folder.
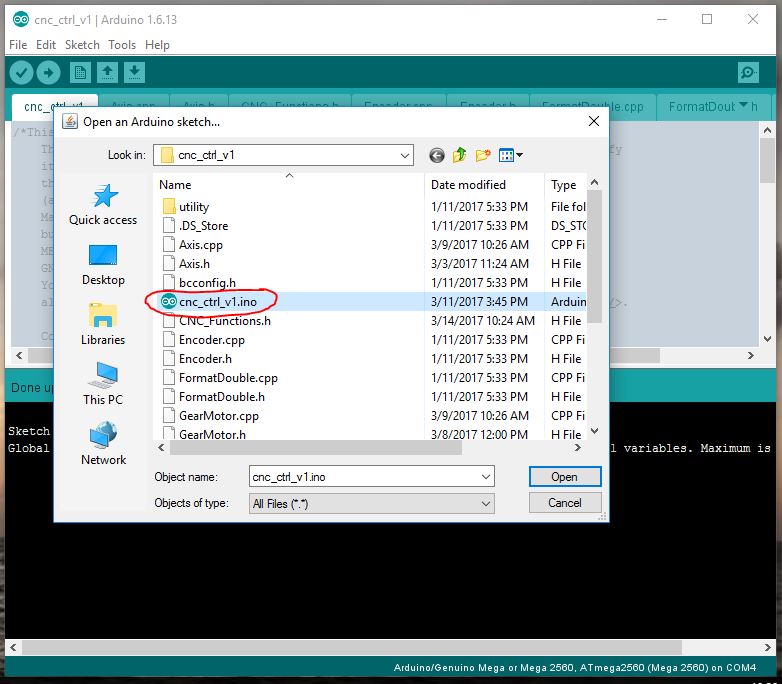
Step 4: Open Firmware
Click File -> Open and then open the firmware by selecting cncctrlv1.ino
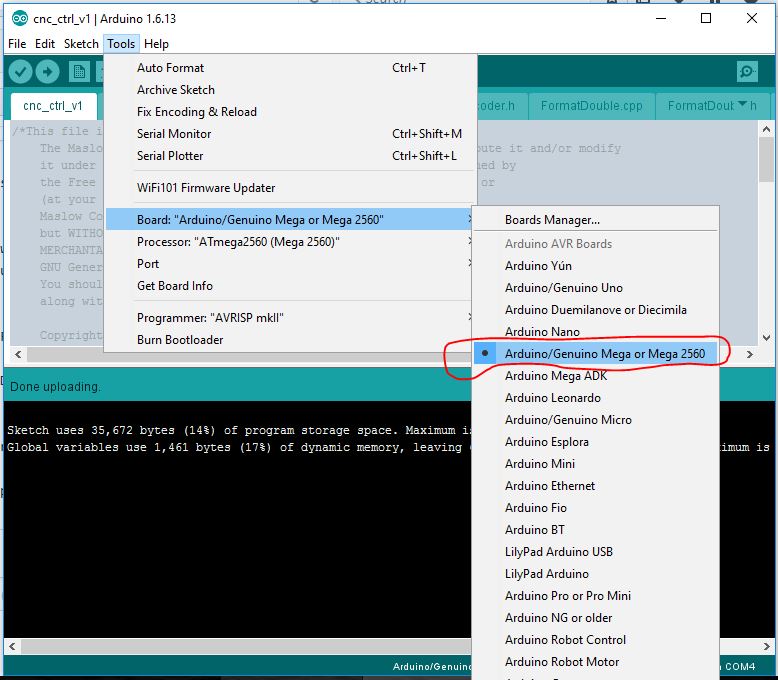
Step 5: Select The Board Type
Select the board type by clicking Tools -> Board -> Arduino/Genuino Mega or Mega 2560
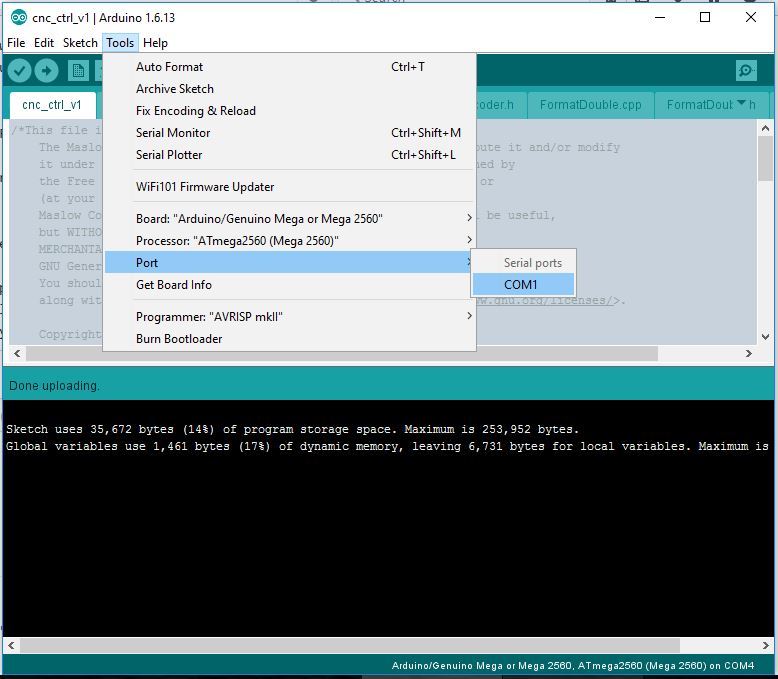
Step 6: Select The Serial Port
Select the correct port to connect to by clicking Tools -> Port -> Your Port. On Windows this will be something like COM3, on Mac and Linux computers it will be something like dev/tty/. You can find the right one by plugging and unplugging your Arduino compatible board and checking which option disappears.
Step 7: Upload The Firmware
Upload the newest firmware to your machine by clicking the upload button in the top left corner. The arrow looks disabled until you hover over it! Linux users: if you are getting timeout or permissions errors, you may need to add your username to the dialout group and then logout and back in. Instructions here.

Step 8: Finish
You are now running the latest firmware. Great Job! Make sure you close the Arduino IDE before proceeding.
Step 9: Proceed
You have finished setting up the Maslow firmware. Proceed to the next step to install Ground Control on your OS.